
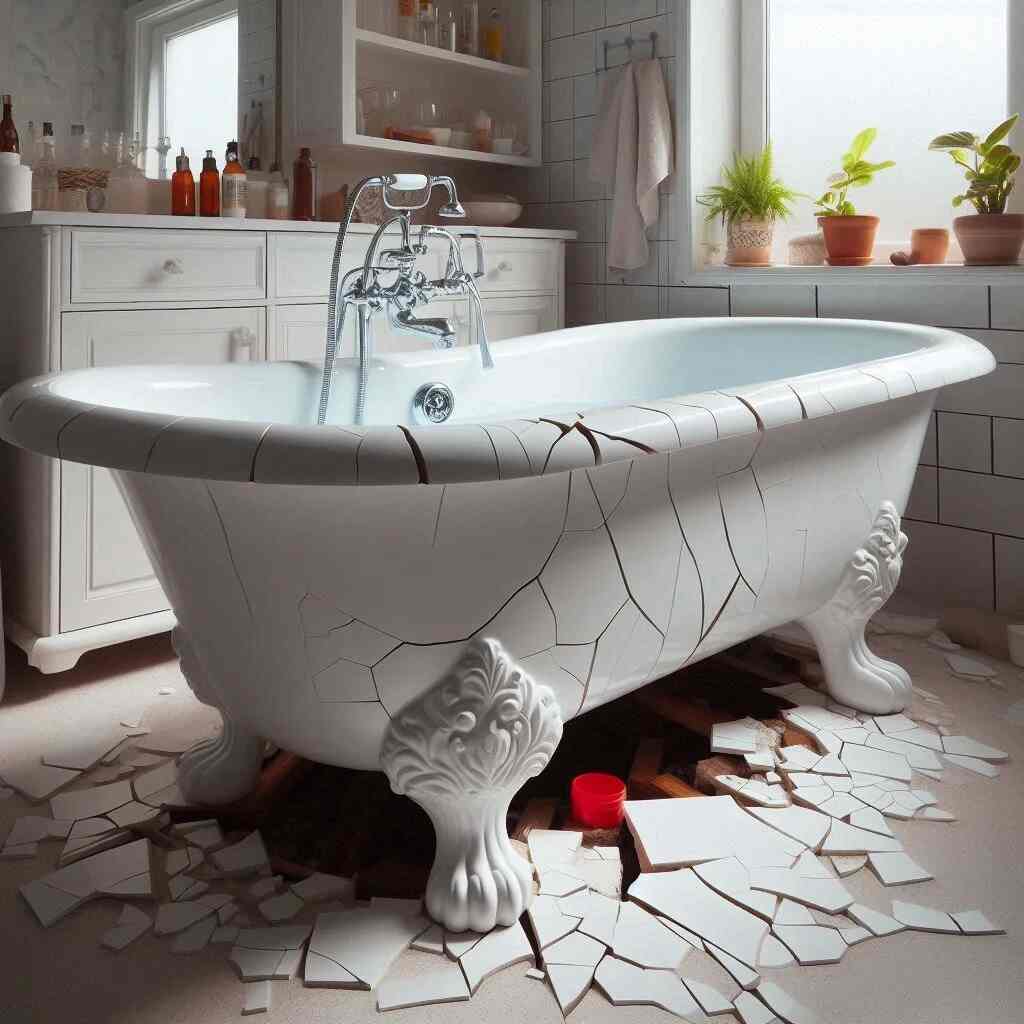
Bathtub repair helps homeowners save money and keep their bathrooms working well. Many people face issues like leaks, cracks, or slow drains in their tubs. This guide walks you through simple ways to handle these problems at home. You will learn what tools to use, how to spot trouble early, and step-by-step fixes that actually work.
Whether your tub is old or fairly new, small repairs can make a big difference. Following clear instructions lets you avoid bigger headaches later. This article covers real situations people deal with every day and gives practical advice you can follow right away.
Why Bathtub Repair Is Worth Doing Yourself
Bathtub repair keeps water from causing damage to floors and walls around the tub. A small leak can turn into mold or rot if left alone. Taking care of issues quickly protects your home and your wallet.
Many repairs need only basic skills and a few hours of work. You do not need to be a plumber to fix most common problems. Learning these skills gives you control over your bathroom upkeep.
People often wait too long before fixing tub issues. This leads to higher water bills and possible structural problems. Early action stops small faults from growing into expensive jobs.
Tools and Materials You Need for Bathtub Repair
Start by gathering the right items before you begin any bathtub repair. A good set of tools makes the work safer and faster.
Basic tools include a screwdriver set, adjustable wrench, plunger, and putty knife. These help with most jobs around the tub. Keep a bucket handy to catch water and old parts.
For materials, buy plumber’s putty, silicone caulk, epoxy repair kits, and replacement washers. Drain snakes clear clogs without harsh chemicals. Measure your tub space first so you get the right size parts.
Organize everything in one place before starting. This avoids running to the store in the middle of a job. Label small parts so you know what goes where when putting things back together.
Safety Precautions Before Starting Bathtub Repair
Turn off the water supply to the tub before any work. This stops unexpected sprays that can make a mess or cause slips.
Wear gloves to protect your hands from sharp edges or cleaning products. Safety glasses keep debris out of your eyes when scraping old caulk.
Make sure the bathroom has good ventilation. Open windows or use a fan when working with strong smells from sealants.
Keep children and pets away from the work area. Wet floors get slippery fast during bathtub repair. Lay down old towels to catch drips and provide better footing.
Identifying Common Bathtub Problems
Look for signs of trouble during regular use. Slow draining water points to a clog somewhere in the pipe.
Water pooling around the base of the tub often means a leak under the fixture. Check for soft spots on the floor nearby.
Cracks appear as thin lines on the surface. Chips show up after heavy objects drop in the tub.
Discolored caulk around the edges suggests water is getting behind it. Mold or mildew growth is another clear warning sign that needs attention right away.
Fixing Leaks Around the Bathtub Faucet
Leaks near the faucet are common in older tubs. They waste water and create constant dripping sounds.
First, shut off the water at the main valve or under the sink. Remove the faucet handle by taking out the screw underneath.
Inspect the washer or cartridge inside. Worn rubber parts usually cause the drip. Replace them with new ones that match the model.
Reassemble everything tightly but do not overtighten. Turn the water back on and test for leaks. This simple bathtub repair often stops the problem completely.
If the leak continues, the valve seat might need cleaning or replacement. Use a seat wrench for this step. Take your time to avoid damaging threads.
Repairing Cracks and Chips in the Tub Surface
Small cracks and chips let water reach the material under the finish. This can cause bigger damage over time.
Clean the area thoroughly with mild soap and let it dry completely. Rough up the edges of the crack with fine sandpaper.
Apply an epoxy filler made for tubs or acrylic surfaces. Press it in firmly and smooth the top level with the surrounding area.
Let the repair cure according to the product instructions. Most take 24 hours before you can use the tub again. Sand lightly once dry for a smooth finish.
For larger cracks, consider using a fiberglass repair kit. These provide stronger results for tubs that see heavy use.
How to Unclog a Bathtub Drain
Clogs happen from hair, soap scum, and body oils building up over months. A plunger often clears minor blockages.
Fill the tub with a couple inches of water. Place the plunger over the drain and push down firmly several times. The pressure should loosen the clog.
If that fails, use a drain snake. Feed the snake into the drain until you feel resistance. Twist and pull back to remove the blockage.
Pour hot water down the drain afterward to flush remaining debris. Avoid chemical drain cleaners when possible. They can damage pipes and the tub finish with repeated use.
For stubborn clogs, remove the drain cover and clean the trap underneath. This gives direct access to the problem area.
Replacing Old Caulk Around the Tub
Old caulk cracks and pulls away from the tub edge. This lets water seep behind the wall and cause hidden damage.
Remove old caulk with a putty knife or caulk removal tool. Work carefully to avoid scratching the tub surface.
Clean the joint with rubbing alcohol or a specialized cleaner. Make sure the area is completely dry before new caulk goes on.
Apply fresh silicone caulk in a smooth, steady bead. Use your finger or a smoothing tool to create a nice seal.
Wipe away extra caulk right away. Let it cure for at least 24 hours before running water. This bathtub repair step prevents future leaks around the edges.
Dealing With Running Water in the Tub
A tub that keeps filling or does not shut off properly wastes water and raises bills.
Check the stopper mechanism first. Hair or debris often jams it in the open position. Clean the area around the overflow plate.
For pop-up stoppers, disassemble the linkage underneath. Adjust the length of the rod so the stopper seats properly.
If the problem is in the faucet, replace the cartridge or stems. Match the brand and model for best fit.
Test the repair by filling and draining the tub several times. Make sure everything operates smoothly without leaks.
Maintaining Your Tub to Prevent Future Problems
Regular cleaning stops buildup that leads to clogs and stains. Use mild cleaners made for your tub material.
Avoid abrasive pads on acrylic or fiberglass surfaces. They create scratches that trap dirt.
Wipe down the tub after each use to reduce soap scum. This simple habit makes future bathtub repair much less frequent.
Check caulk lines every few months for cracks. Replace them before water gets behind the wall.
Inspect pipes under the tub if you have access. Look for signs of corrosion or loose connections during routine checks.
Repairing Tile Around the Bathtub
Loose or cracked tiles near the tub let water reach the wall structure. Remove damaged tiles carefully with a chisel.
Clean the area and apply fresh thinset mortar. Press new tiles into place and use spacers for even gaps.
Let the mortar dry fully before grouting. Choose grout that matches the existing color for a seamless look.
Seal the grout lines after they cure. This protects against water damage in the future.
This type of bathtub repair improves both function and appearance of the bathroom.
When Professional Help Is Needed for Bathtub Repair
Some jobs go beyond basic skills. Major structural leaks or extensive cracking often need expert attention.
If water damage appears in rooms below the bathroom, call a professional right away. Hidden problems can spread quickly.
Old cast iron tubs may need special handling. Professionals have tools for safe removal and installation.
Complex plumbing rerouting is another case for licensed plumbers. They ensure code compliance and proper connections.
Know your limits to avoid making problems worse during bathtub repair attempts.
Choosing Replacement Parts That Last
Buy quality parts from trusted brands when doing bathtub repair. Cheap washers fail faster and cause repeat visits.
Match materials carefully. Acrylic repair kits work best on plastic tubs while porcelain needs different products.
Keep extra washers and gaskets on hand for quick fixes. Store them in a dry place with your tools.
Read reviews before purchasing online or in stores. Real user experiences help you pick reliable supplies.
Eco-Friendly Approaches to Bathtub Repair
Use natural cleaners like vinegar and baking soda for maintenance. These options avoid harsh chemicals that harm pipes.
Install low-flow fixtures during repairs to save water over time. Many modern parts work with older tubs.
Fix leaks promptly to reduce water waste. Even small drips add up to hundreds of gallons each year.
Choose recyclable materials when replacing larger components. This supports better environmental practices in home repair.
Common Mistakes to Avoid in Bathtub Repair
Rushing the drying time for caulk or epoxy leads to weak seals. Always follow product instructions exactly.
Using the wrong tools can damage finishes or threads. Invest in basic plumbing tools instead of improvising.
Ignoring small problems lets them grow into major repairs. Address issues as soon as you notice them.
Forgetting to turn off water before disassembly causes unnecessary flooding. Double-check valves every time.
Step-by-Step Guide to a Full Tub Refresh
Start with a thorough cleaning of the entire tub surface. Remove all old caulk and debris.
Inspect all fixtures and replace worn parts at the same time. This prevents having to repeat work soon.
Apply new caulk around all edges and let it cure. Test water flow and drainage thoroughly.
Polish the tub finish if needed with appropriate products. This restores shine and protects the surface.
Take before and after photos to track your progress and learn for next time.
Understanding Different Tub Materials and Their Repair Needs
Acrylic tubs scratch easily but repair well with kits. Clean them gently and avoid heavy impact.
Fiberglass requires similar care. Surface repairs blend nicely when done correctly.
Porcelain-coated steel needs rust treatment if chips expose the metal underneath.
Cast iron tubs are heavy and durable but hard to repair at home. Surface touch-ups work for minor chips.
Know your tub type before starting any bathtub repair project. This ensures you pick the right products and methods.
Cost Savings From DIY Bathtub Repair
Professional service calls often cost hundreds of dollars even for simple jobs. Doing it yourself cuts expenses dramatically.
Learning these skills helps with other household plumbing tasks too. The knowledge pays off over years.
Materials for most repairs run under fifty dollars. Compare that to plumber rates and you see clear savings.
Time invested in bathtub repair returns comfort and peace of mind in your own home.
For more informative blogs, visit AVTub.
Final Thoughts on Keeping Your Bathtub in Good Shape
Regular attention to your tub prevents most major problems. Simple maintenance combined with timely repairs extends the life of your bathroom fixture.
This guide gives you the knowledge to handle common issues confidently. Start with small tasks and build your skills over time.
A well-maintained tub makes daily routines more pleasant and protects your home investment. Take pride in fixing things yourself when you can.
Remember to work safely and methodically. Good preparation leads to better results in every bathtub repair project.