Orange staining is common around baths, but not every orange mark means the bathtub is corroding. Finding the source prevents unnecessary use of harsh products.
For removing rust spots without damaging bathtub surfaces, a sensible plan begins by identifying the existing surface, the condition of the area around the defect and any sign that water is reaching places it should not. This guide explains what can be assessed without damaging the tub, the limits of common treatments, and the questions worth asking before paying for work. Product-specific instructions and an on-site assessment take priority when a coating, fitting or structure is uncertain.
First identify where the orange stain originates
Deposits can come from iron-rich water, metal objects or corrosion through damaged enamel. A brown spot does not automatically mean the tub itself is rusting. The correct boundary of a project is not always the outline of the visible spot. Damage can extend beneath a finish or into a hidden joint, while some apparent marks are only deposits on top. That difference is the reason inspection comes before treatment.
A repair can be cosmetically acceptable without being invisible. Ask whether the aim is to remove a sharp edge, prevent water contact with a damaged substrate, or blend the appearance. Before making changes, write down what you know: the age of the finish if documented, prior repairs, the exact location and any wetness nearby. Missing information is not a failure; it tells you where to look next.
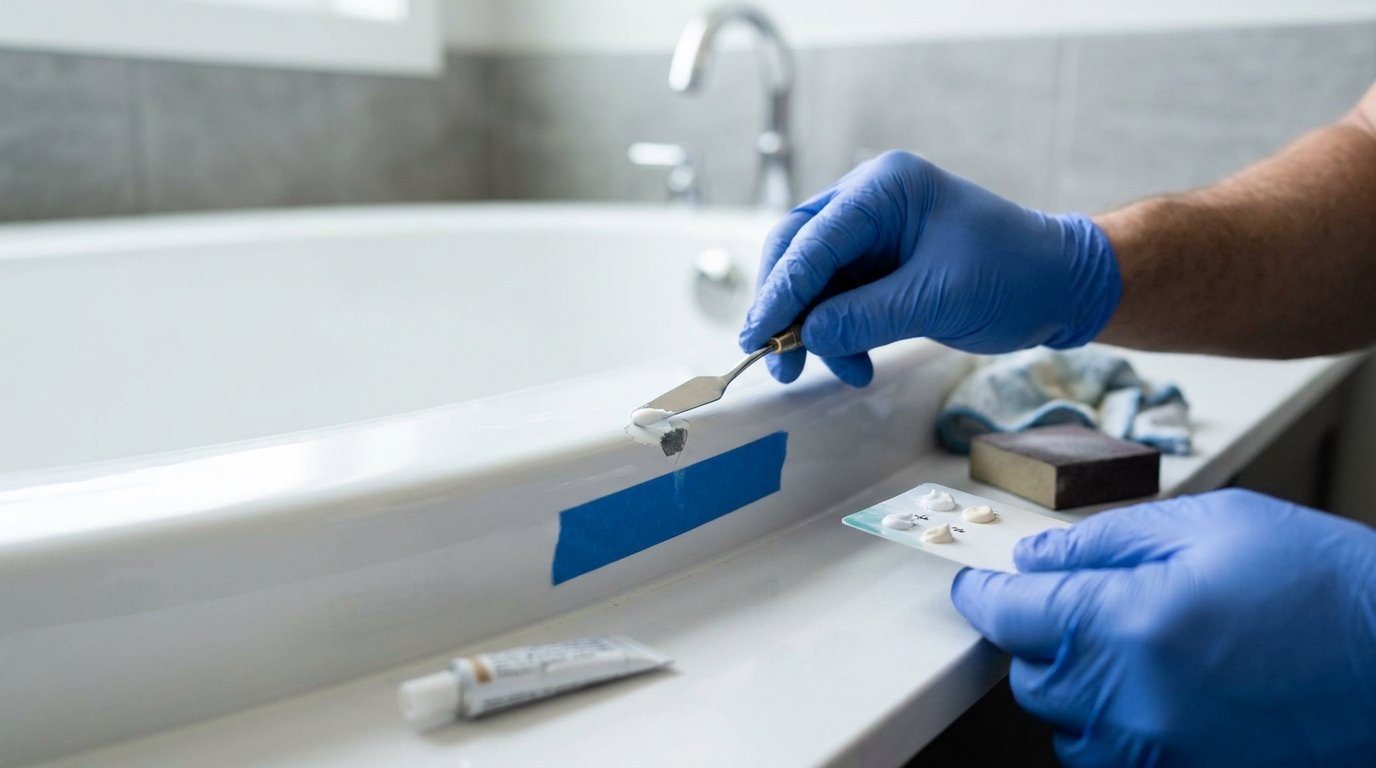
If the surrounding material is sound and the issue is truly localized, a compatible minor repair may be reasonable. If there is spreading damage, repeated failure or moisture below the bath, seek an assessment before covering it.
Try the least aggressive cleaning method
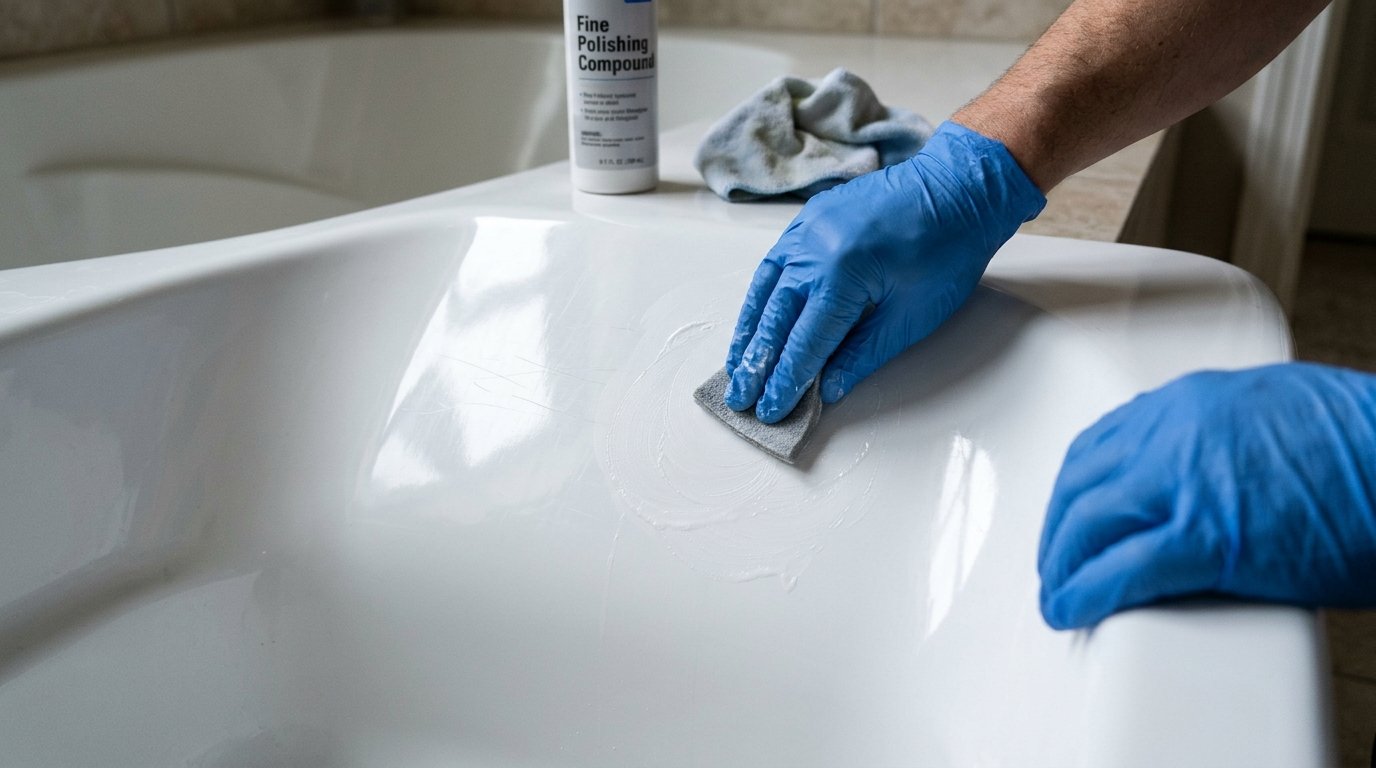
A mild detergent and soft cloth are safer first steps than steel wool or strong acid. Always follow the tub manufacturer’s cleaning guidance. A realistic result has limits. Color can be blended without being perfectly invisible; a water test can indicate an immediate repair without guaranteeing indefinite performance. Document the condition and keep the maintenance instructions.
Small repairs are most successful when they solve a clearly bounded defect on a sound surface. Larger patches introduce more edge area, more color matching, and more opportunity for future movement. If the choice involves a contractor, compare written descriptions of the proposed process. Ask how the work area will be protected, what would change the scope and when the tub may safely return to service.
Where an inspection finds multiple causes, plan the work in order: address active leakage and instability, dry affected materials, then restore the visible finish. Reversing the order hides evidence.
Match rust treatment to the finish
Porcelain enamel may tolerate products that damage acrylic, fiberglass gelcoat or refinishing coatings. Check compatibility before applying any targeted stain remover. Small clues become more persuasive when they agree. Location, texture, timing and the history of the tub each tell only part of the story. A single test or photograph should not outweigh signs that the surrounding material is deteriorating.
The tub material changes the meaning of damage: rigid porcelain enamel chips differently from acrylic, while reinforced fiberglass can hide a deeper fracture below a gelcoat-like finish. Keep the observations specific rather than using labels such as “bad” or “fine.” Note depth if apparent, exact location, whether water appears, and whether the problem changes over days or weeks.
Choose the method that preserves as much sound material as possible. Unnecessary scraping, sanding or chemical treatment can enlarge a modest repair and complicate later professional restoration.
Distinguish superficial staining from active corrosion
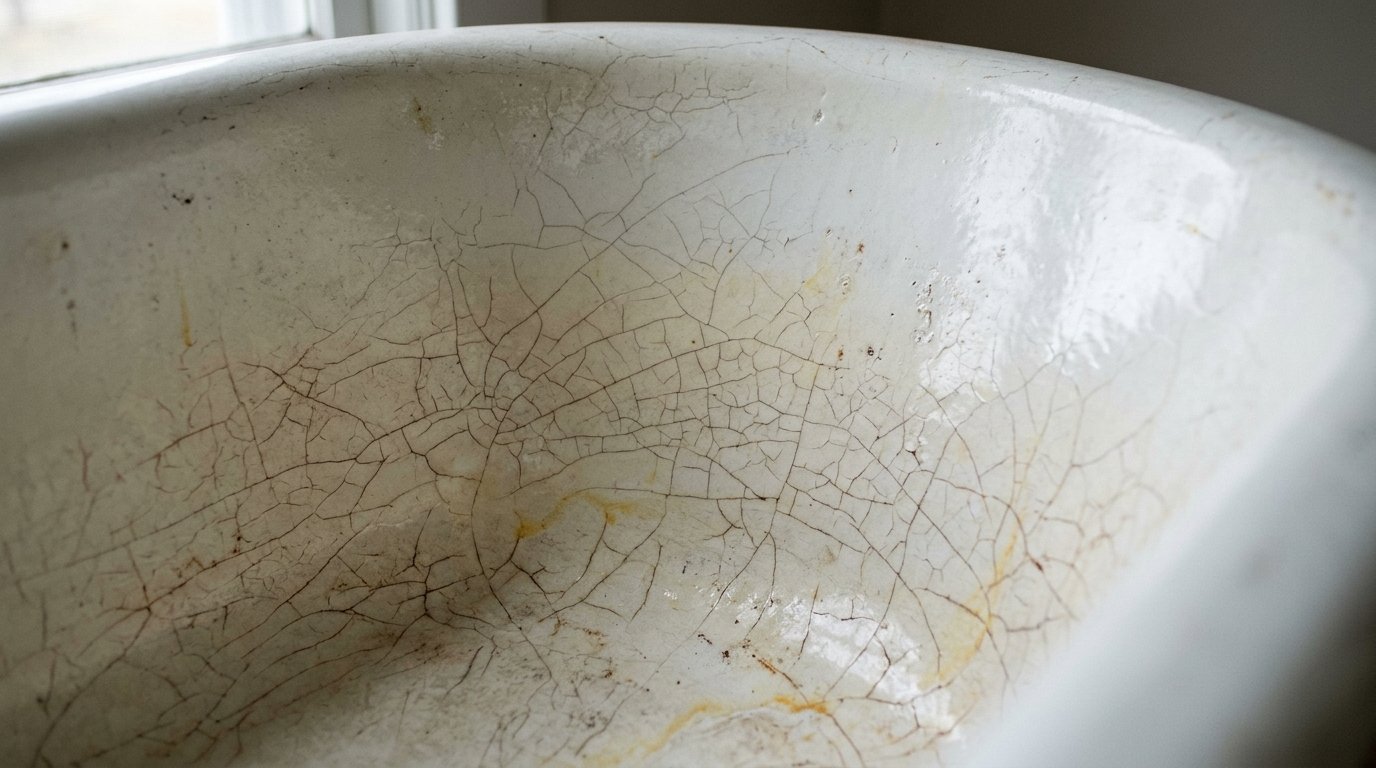
A persistent dark center, bubbling around a chip or flaking metal suggests coating failure. Cleaning away color does not restore a breached protective layer. Material compatibility should not be treated as a footnote. Adhesion, hardness, flexibility and chemical tolerance vary, and a product that works well for one bathtub may cause damage on another. Check the maker’s guidance rather than assuming all white surfaces behave alike.
Not every apparent flaw calls for a filler. Mineral deposits and scuff transfer can mimic damaged coating; a gentle cleaning check can prevent irreversible work on an intact finish. Ask a technician to explain the observation that supports the diagnosis. “It looks worn” is less informative than a description of adhesion, substrate condition, drain movement or a particular leak path. The explanation should fit the visible evidence.
When an option promises to restore appearance quickly, ask whether it also addresses the actual cause. The answer determines whether the result is a durable repair or merely a temporary visual improvement.
A useful companion to this question is our guide to How to Tell if Bathtub Damage Is Only Cosmetic or Structural, which examines a related decision from a different starting point.
Protect drains and chrome fittings
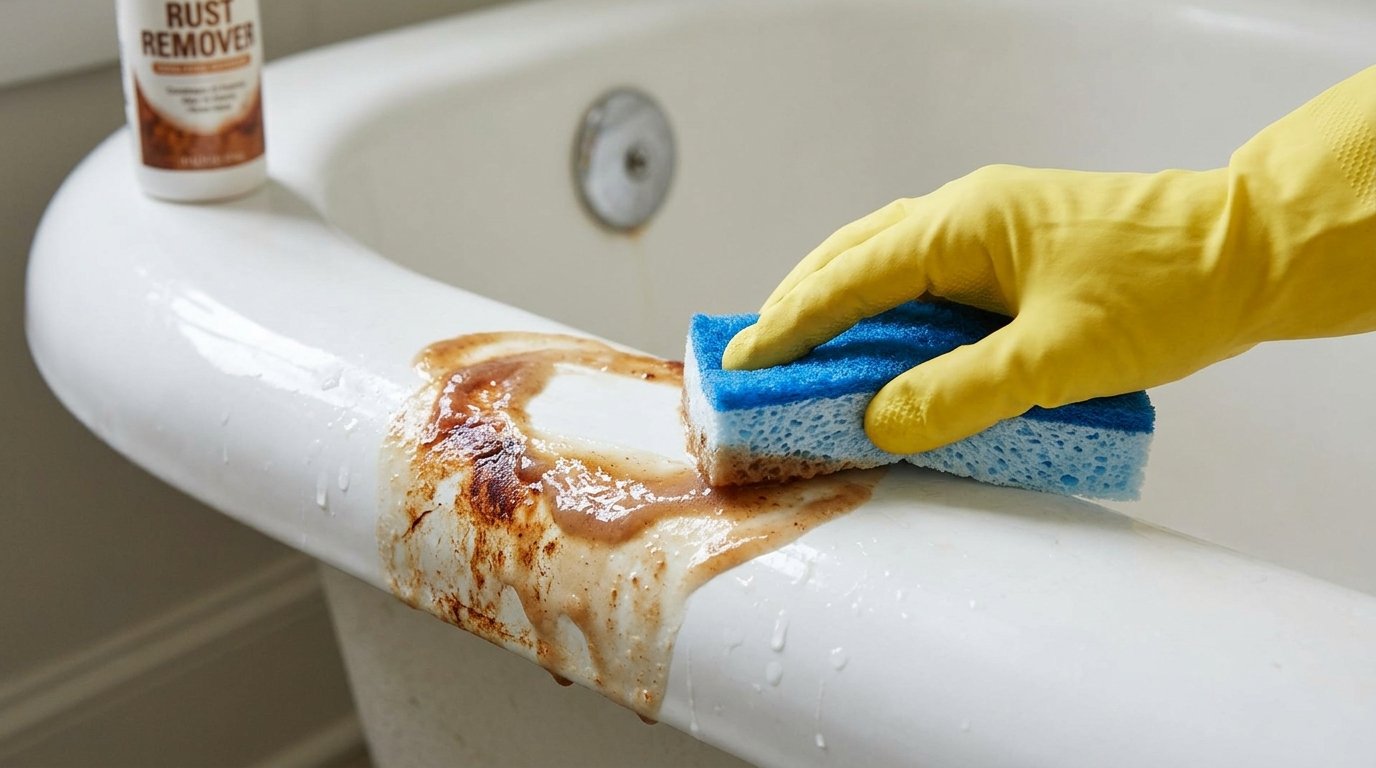
Some chemical removers can discolor metal finishes and seals. Limit contact, do not mix cleaners, and rinse only as the product instructions specify. There is also a practical order to the decision. Establish what material is present, whether the bath is dry and secure, and what happened before the mark appeared. Only after that should a proposed cleaning, repair or professional process be judged.
A shiny surface can conceal changes beneath the finish. If there is rust, unusual flex, an opening into the shell, or water where it should not be, cosmetic treatment is not enough. Use the least destructive observation available. Look for edges lifting, staining around fixtures, changes in surface texture and accessible damp spots. Leave hidden pipe disassembly and cutting to people equipped to manage the risks.
Before accepting a quote, ask what it includes and how the final result will be checked. A well-defined scope reduces surprises and helps compare alternatives fairly.
If rust keeps returning, follow the source
Look for leaking metal fixtures, wet containers or worn enamel. Fixing the moisture source is more durable than repeating stronger cleaning. A useful answer balances what you can see with what you cannot. A homeowner can document stains, movement, defects and timing, but hidden plumbing or laminate damage may need inspection tools and someone qualified to use them.
Surface products do not all cure in the same way. Water resistance, full hardness, ventilation and cleaning restrictions should come from the specific product instructions. Try to distinguish an isolated blemish from a pattern. Several similar defects, recurring moisture or worsening edges make a stronger case for a broader assessment than one stable mark.
The safest decision may be to delay cosmetic work until the area is dry and the fittings are sound. A successful finish is easier to achieve when water and movement problems are resolved first.
Know when a repair is required
Chipped enamel with corrosion underneath may need professional stabilization and a compatible touch-up. Extensive pitting may not be a safe DIY repair. Consider how this looks in an ordinary bathroom rather than on a product label. The surface may appear uniform from a doorway while the relevant evidence is concentrated near a fitting, seam or damaged edge. Take the time to observe the whole area before making the surface harder to inspect.
Visible changes should be documented before a repair. A clear photo of the entire tub and a closer image with an ordinary size reference are more useful than an extreme close-up alone. For a useful inspection, photograph the area both close up and from farther back. Note whether the observation changes after a normal cleaning, after the tub is dry or when the fixture has been used. Avoid deliberately stressing a suspected crack or leak.
If there is uncertainty about the substrate or the repair chemistry, do not experiment with a stronger product. Manufacturer guidance or a specialist opinion is generally cheaper than correcting a preventable finish failure.
Applied to “first identify where the orange stain originates,” this means looking for a genuine change in condition rather than only a change in color. Deposits can come from iron-rich water, metal objects or corrosion through damaged enamel. A brown spot does not automatically mean the tub itself is rusting. In practical terms, compare the nearby undamaged finish with the affected area, and observe whether the situation stays stable after the space is dry. Do not treat the absence of an obvious drip as proof that a hidden joint or substrate is sound. If a recommendation involves new chemicals, abrasion or removal of fittings, verify that it is suitable for the actual tub and within the intended scope of the product or technician. The goal is an informed decision, not an elaborate experiment on an unknown finish.
Applied to “try the least aggressive cleaning method,” this means looking for a genuine change in condition rather than only a change in color. A mild detergent and soft cloth are safer first steps than steel wool or strong acid. Always follow the tub manufacturer’s cleaning guidance. In practical terms, compare the nearby undamaged finish with the affected area, and observe whether the situation stays stable after the space is dry. Do not treat the absence of an obvious drip as proof that a hidden joint or substrate is sound. If a recommendation involves new chemicals, abrasion or removal of fittings, verify that it is suitable for the actual tub and within the intended scope of the product or technician. The goal is an informed decision, not an elaborate experiment on an unknown finish.
For this particular question, the most useful outcome is a clear distinction between what can safely be checked and what needs skilled attention. Start with the surface and history you actually have, keep water away from suspected leaks, and use only materials approved for the existing finish. If the evidence points to a moving crack, hidden moisture, corrosion or widespread coating failure, a professional diagnosis is worth more than a hurried cosmetic result. Record any work completed, respect the specified cure time and use a gentle maintenance routine afterward.